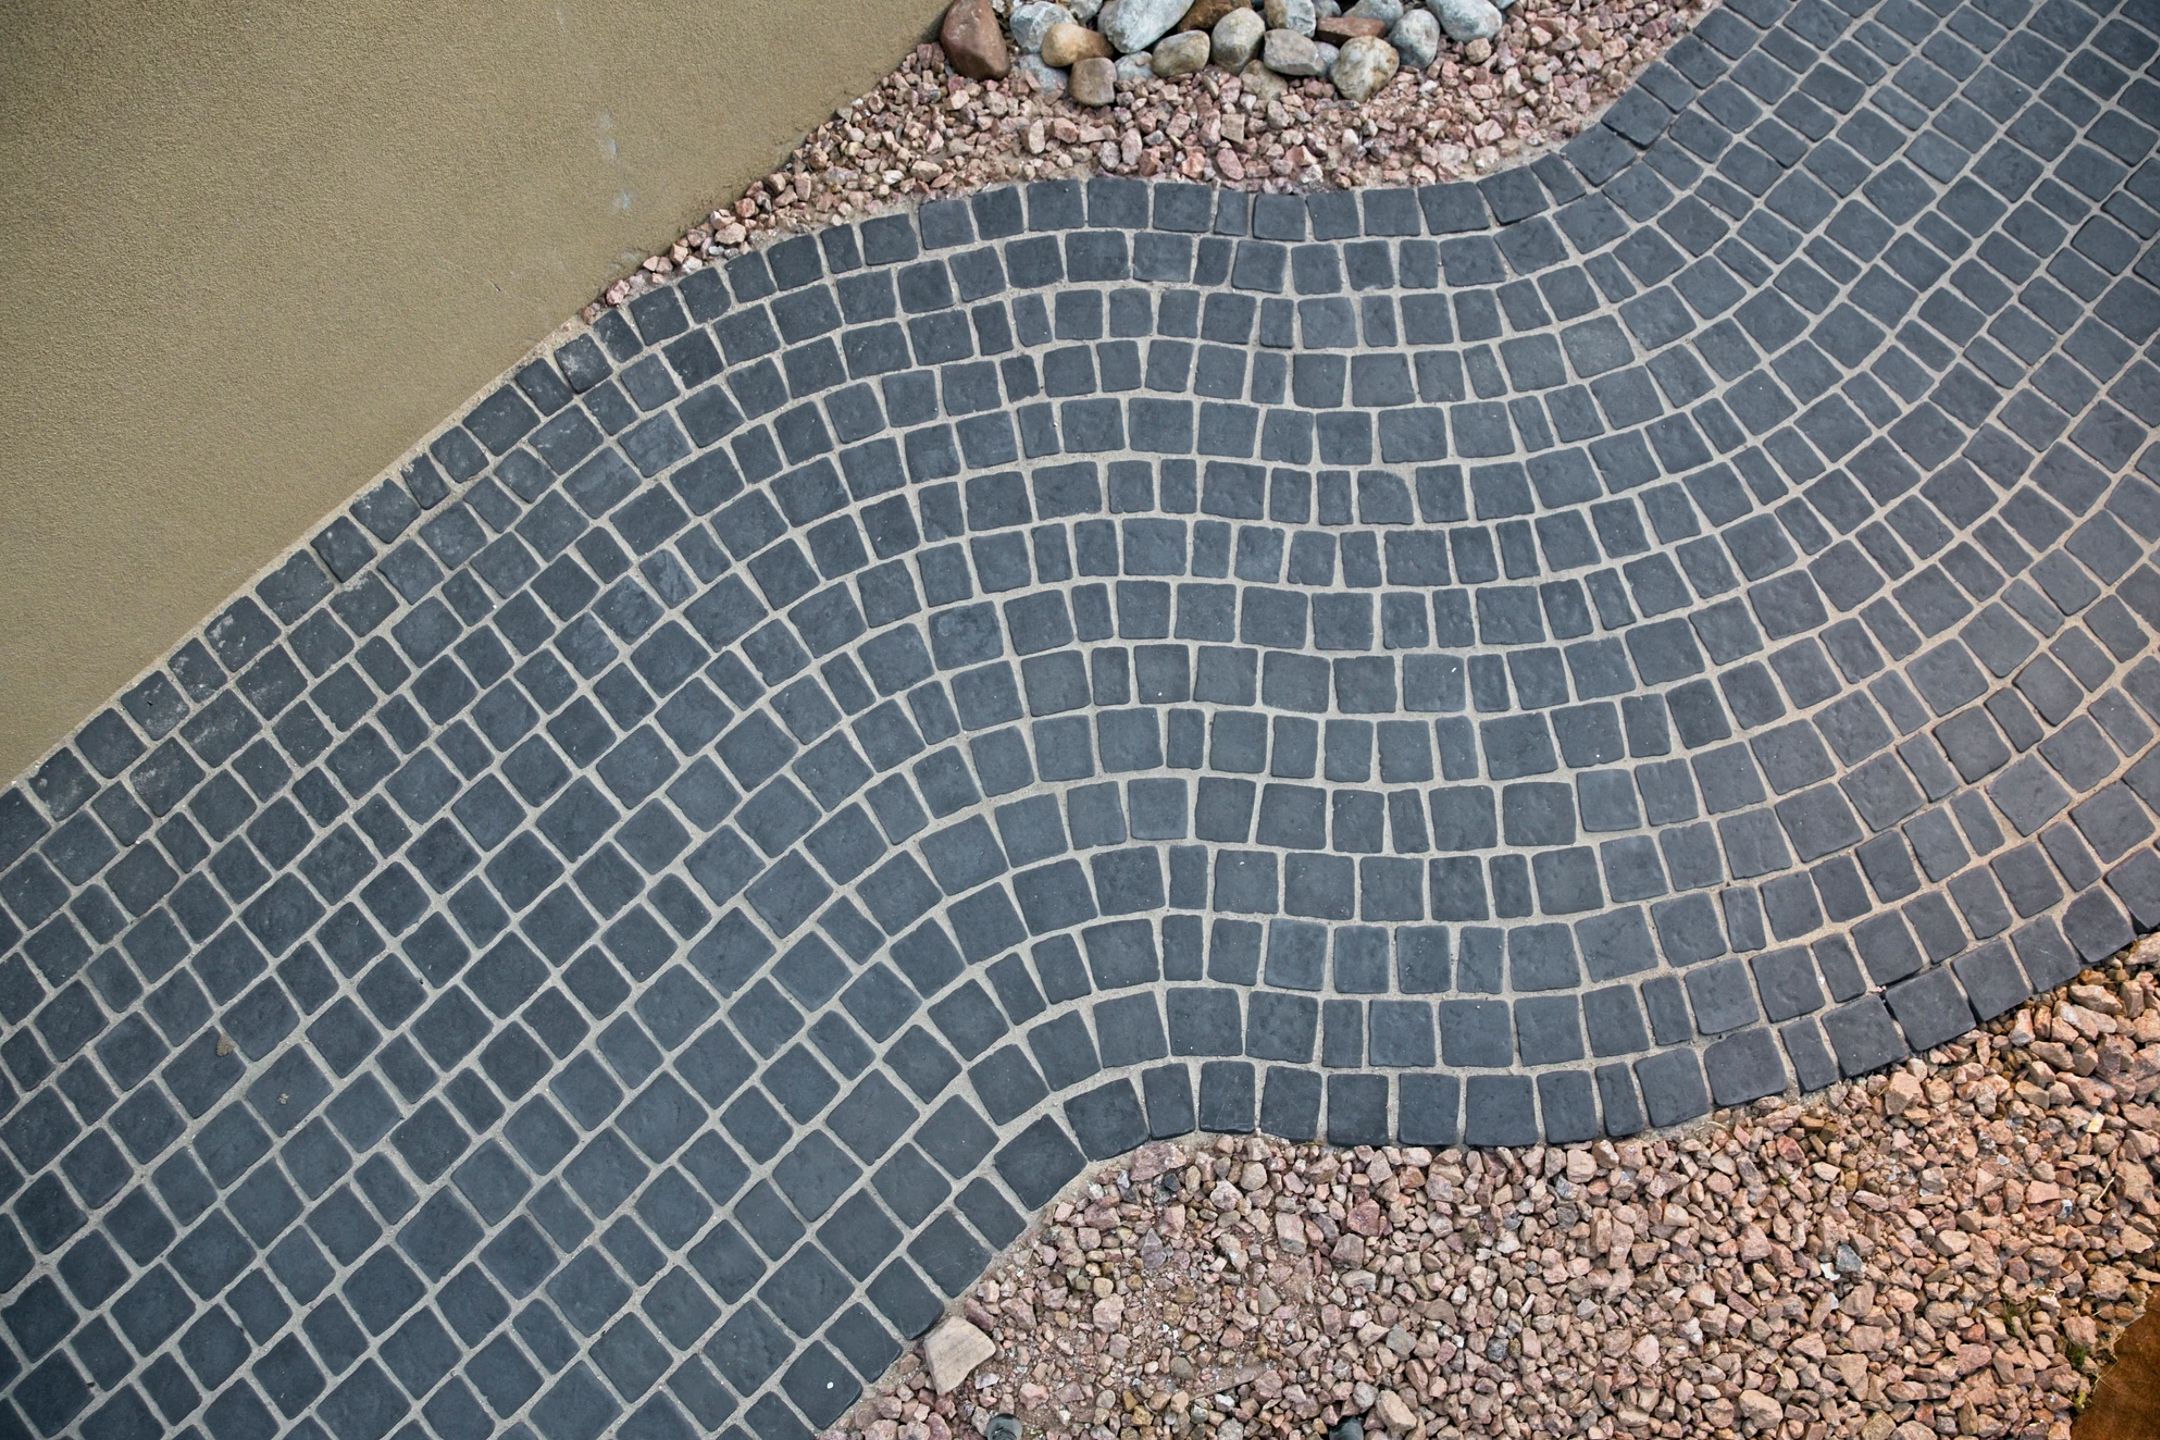
Build Permeable Pavers with Ecosystems
Eco-friendly, durable and easy to use, Ecosystems allows water permeability for outdoor spaces. Perfect for both residential and commercial applications, our innovative formula ensures a seamless finish that stands the test of time.




Product Overview
Whether you're a passionate architect or a seasoned professional installer, Ecosystems is your go-to solution for hassle-free paver applications.
Our innovative formula is designed to make any project — from cozy residential patios to expansive commercial spaces — smooth and straightforward.
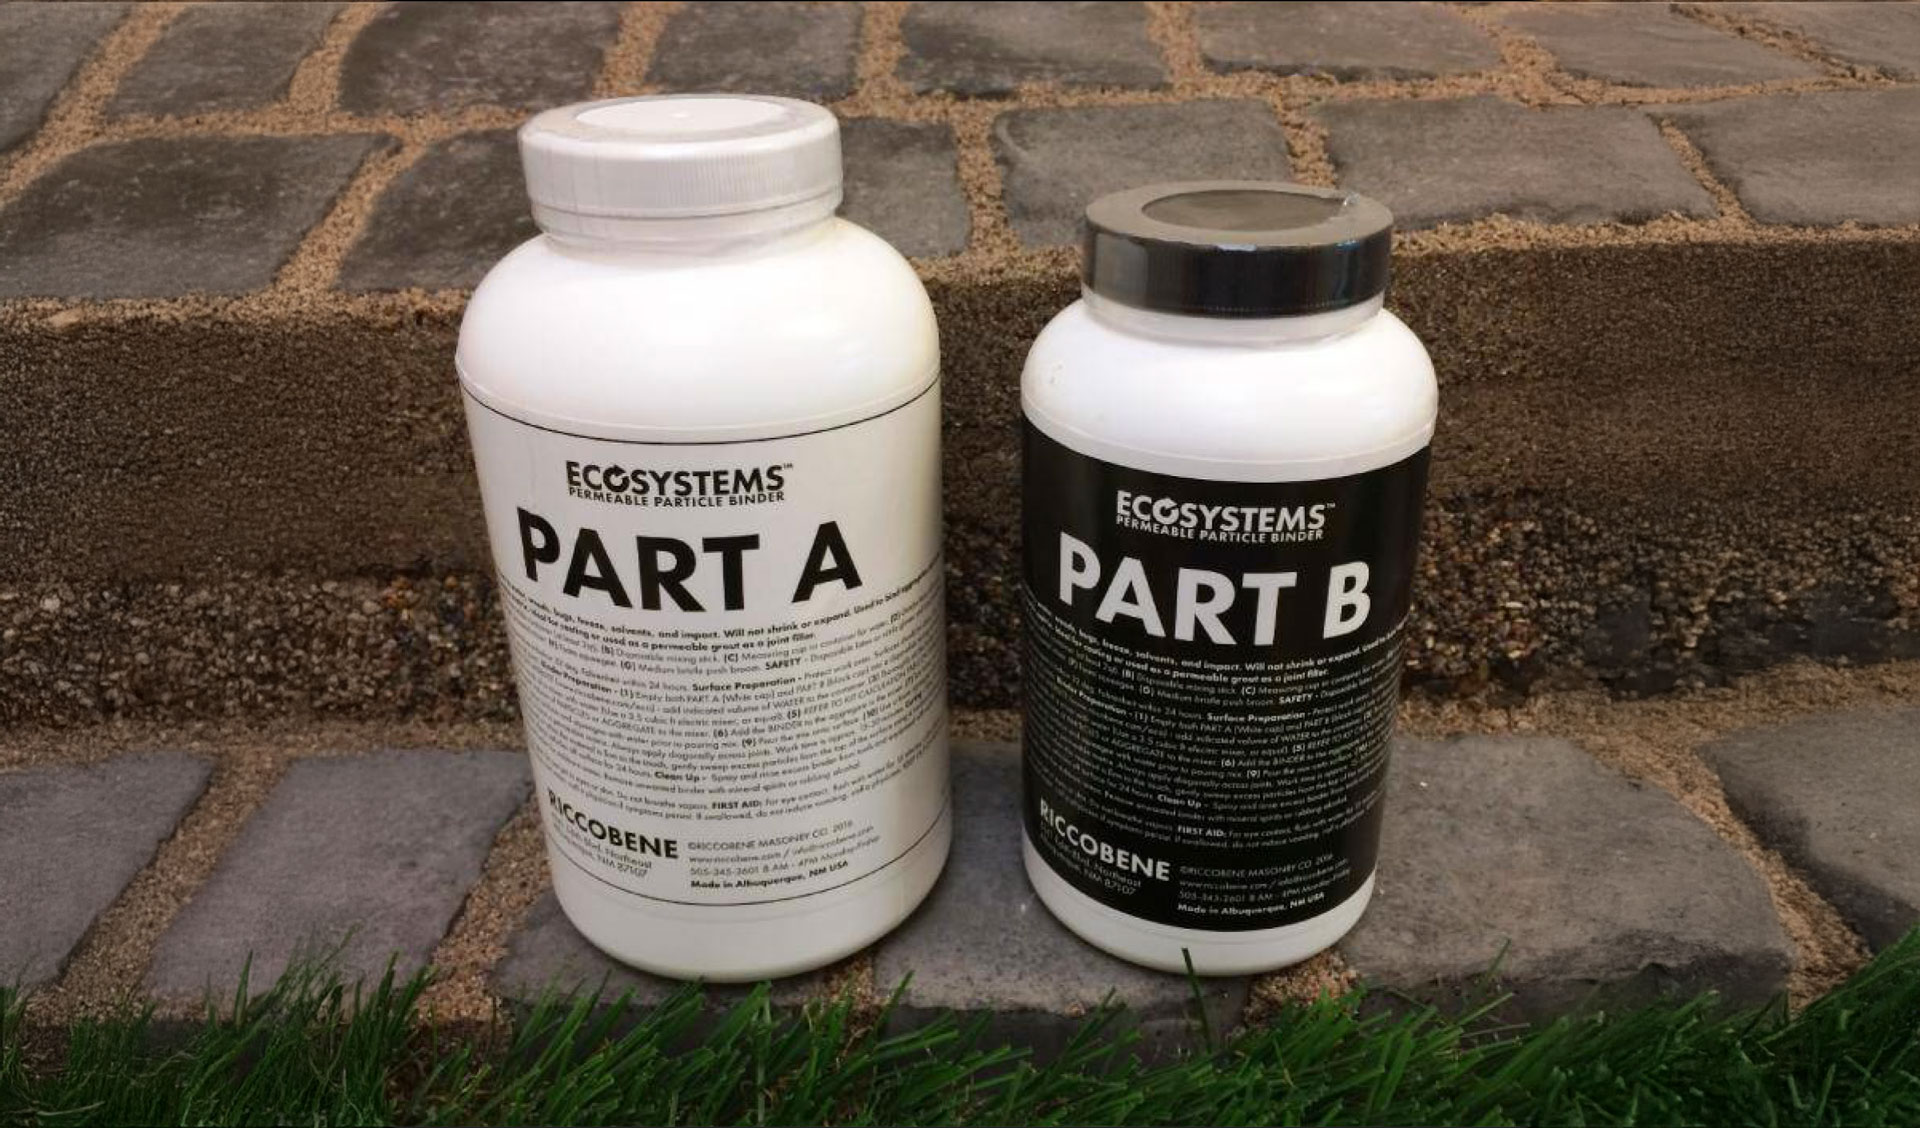
It is made using an advanced two-part permeable bonding agent that is designed to bind any size particle or aggregate together into a permeable, breathable and commercially tough grout.
Unlike other aggregate binding chemicals that need to be mixed in a factory setting, Ecosystems is an easy-to-apply system that is quickly mixed and applied on-site using any aggregate and a standard mixer.
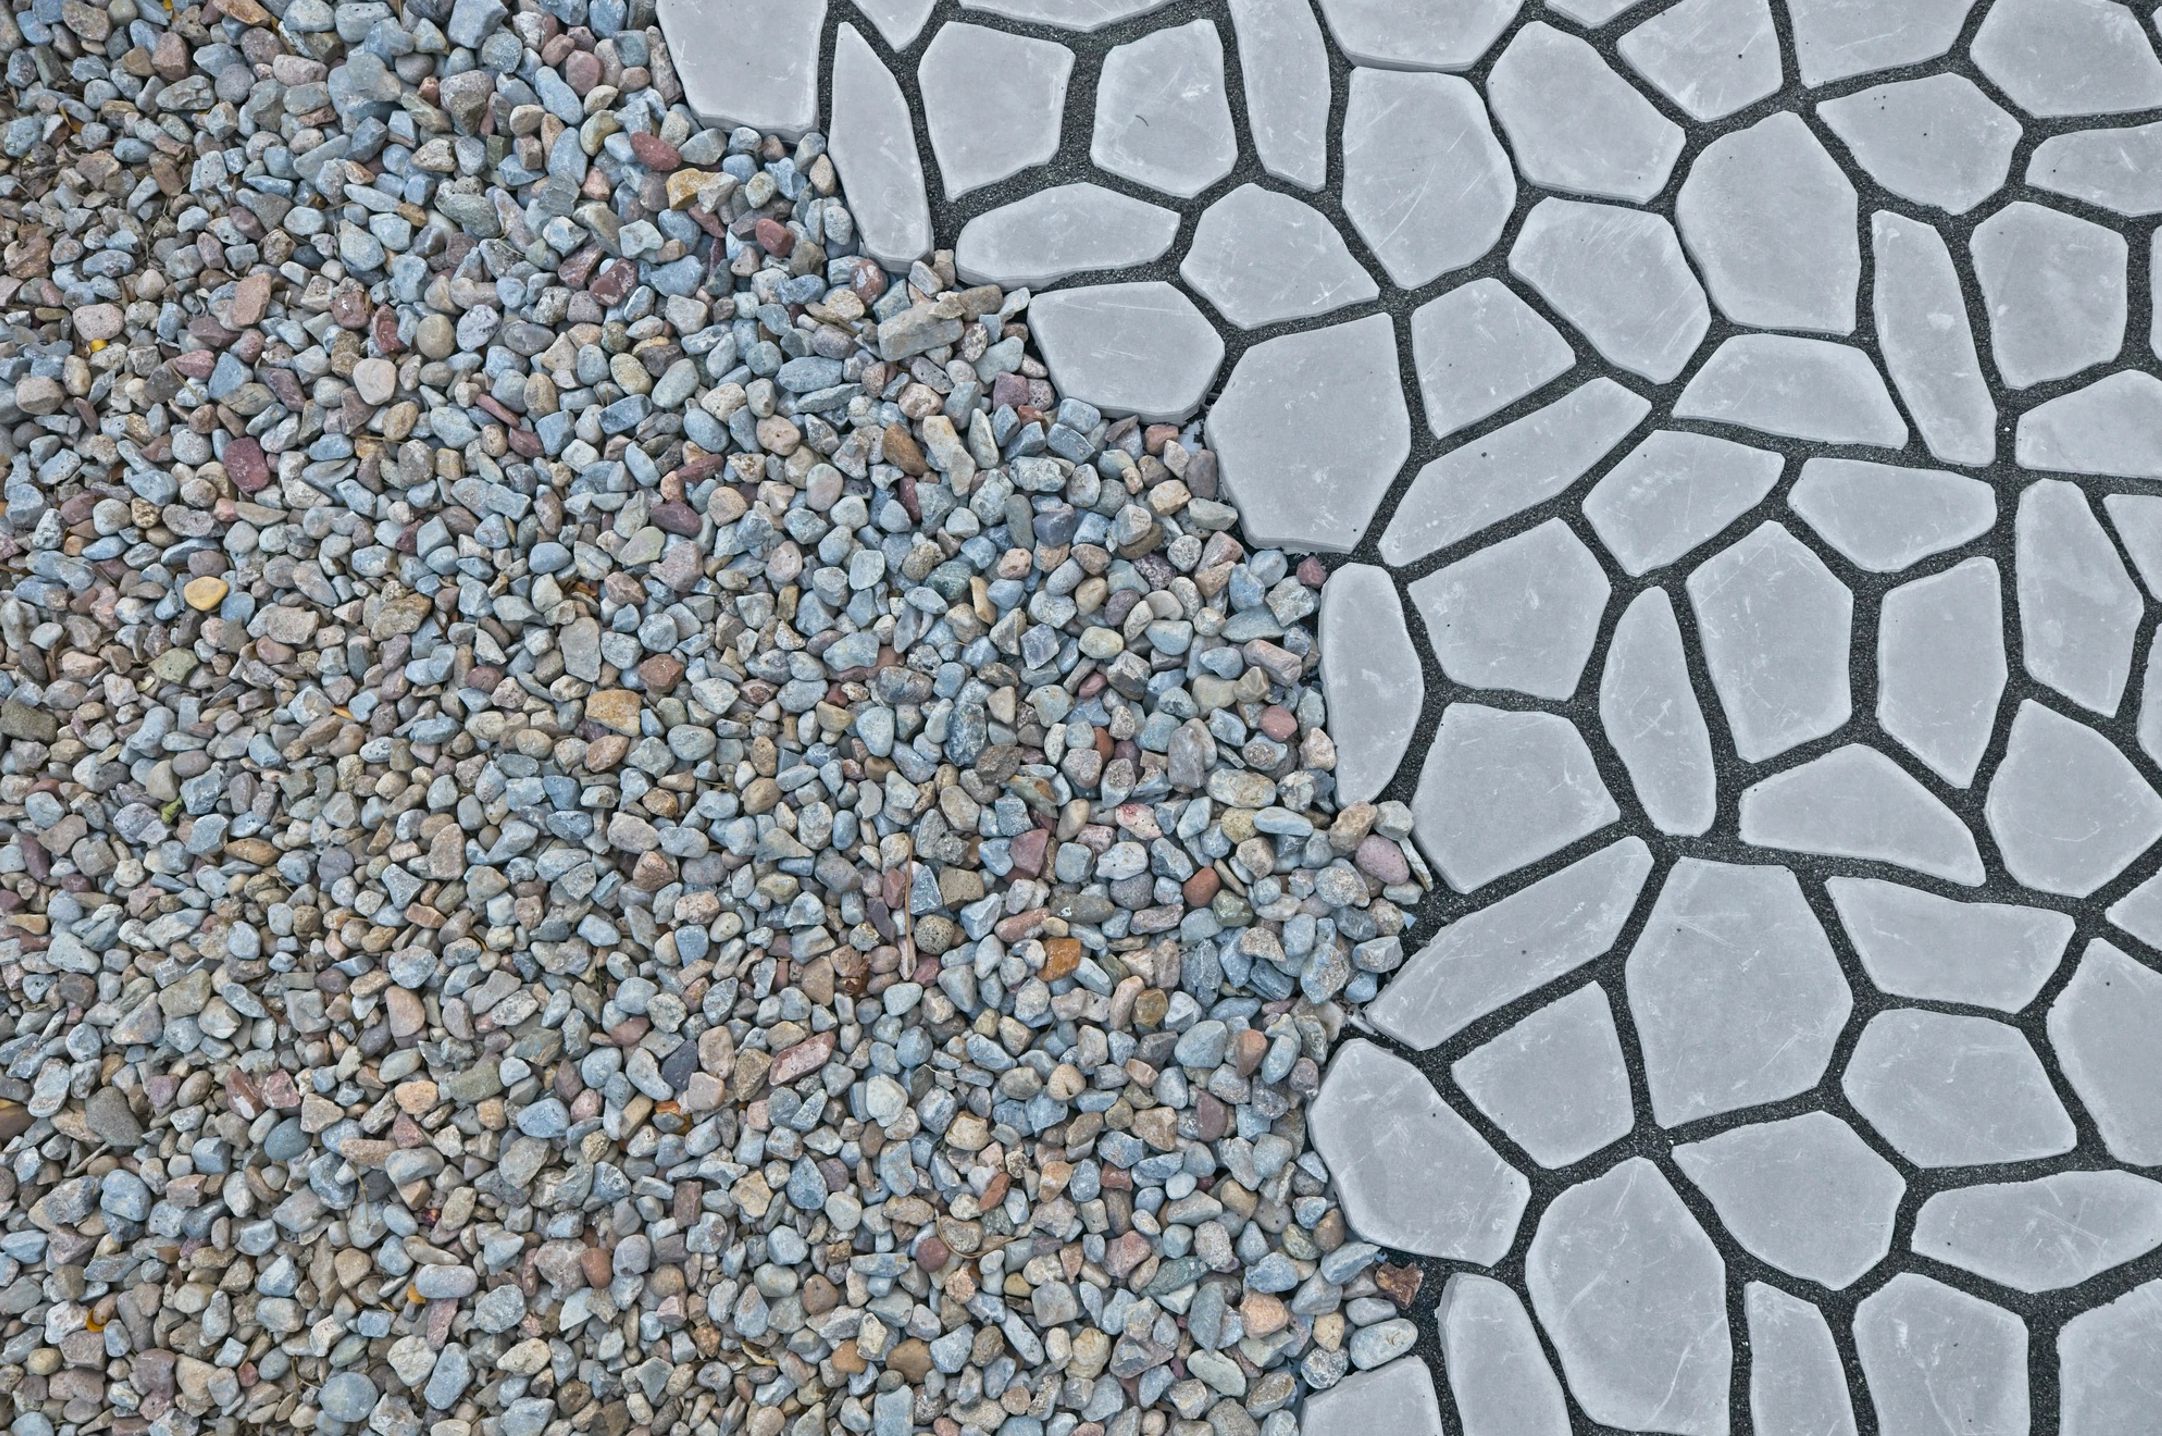
It is the perfect grout choice for our Articulating Concrete Mats.
Follow our step-by-step guide or consult with our experts to ensure a flawless installation every time.
Why Choose Ecosystems?
- Environmentally Friendly: Its application ensures that it has a positive environmental impact.
- Easy Application: This solution is simple to use, making outdoor projects a breeze.
- Durable and Reliable: Built to last, it ensures outdoor spaces look great for years to come.
Install Our Pavers in Just Four Simple Steps
Here’s a simple guide to laying one of our paver systems:
Step 1: Ground Preparation
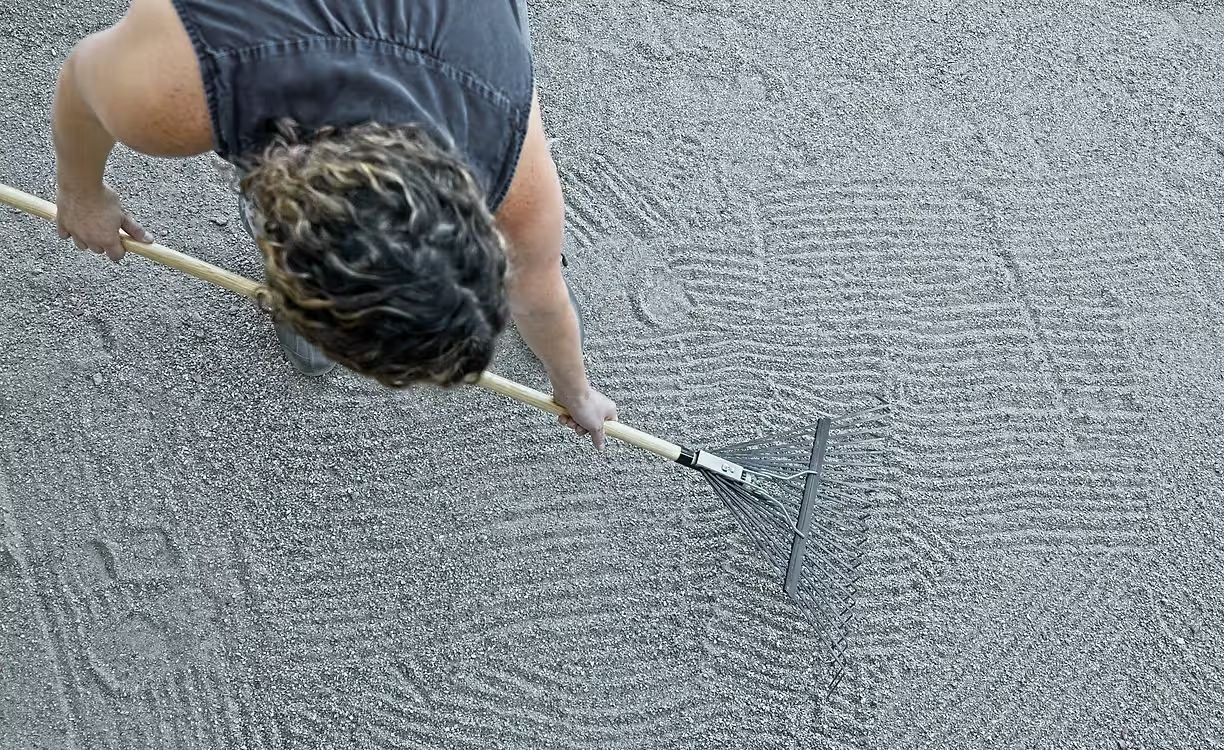
- Clear the area of debris, rocks, or vegetation.
- Level the surface and ensure a slight slope for water drainage.
- Compact the base layer with a tamper for stability.
- Double-check the leveling before moving to the next step.
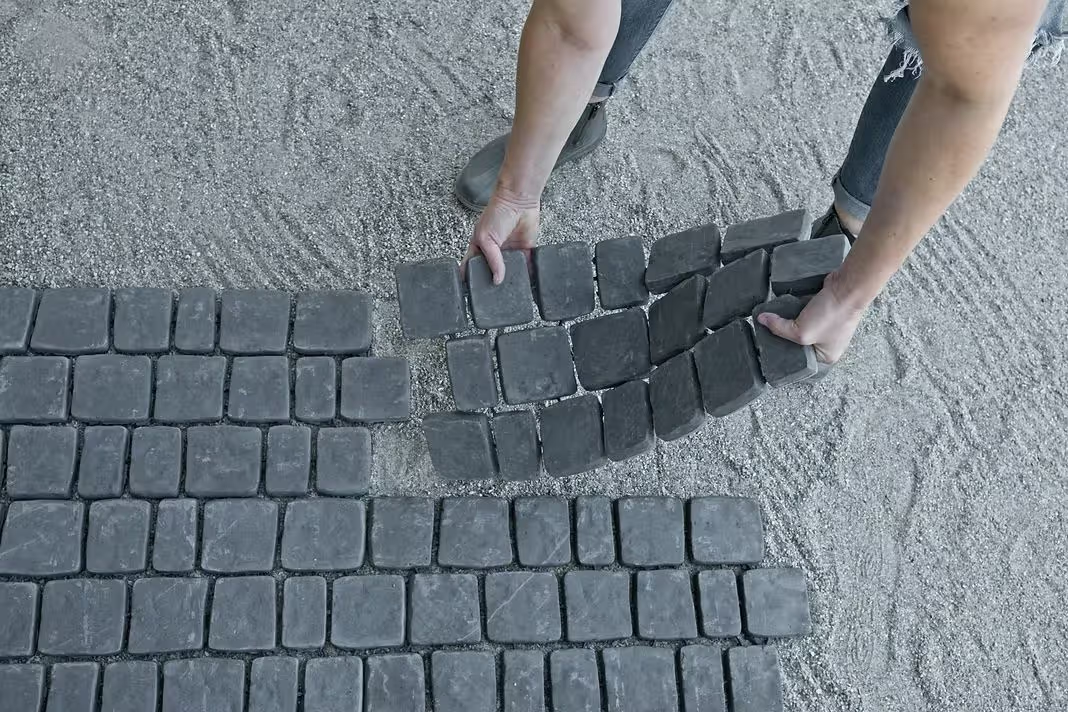
Step 2: Laying the Mats
- Begin at a chosen origin point, preferably on the outer edge of your project working from one side to the other.
- If you are building with a preexisting structure, begin from its edge.
- Decide on your laying pattern. This can vary based on the mat type and the project’s aesthetic.
- Lay mats from the starting point outward, maintaining consistent spacing for uniform grout lines.

Step 3: Snipping the Mats
- If your design requires mats to fit specific shapes or sizes, use snippers to cut the mats to your desired dimensions.
- Mats can be cut, allowing it to adapt to your design. This step is crucial for fitting mats around corners, curves or obstacles in your landscaping project.
- Before cutting, measure and mark the areas on the mat where adjustments are needed to ensure accuracy and minimal waste.

Step 4: Filling the Joints
- Follow specific manufacturing directions if using polymeric sand or our Eco Grout
- Choose a filling medium. We recommend polymeric sand or Ecosystems for optimal bonding between the mats, although any natural joint fill will work.
- Application is easy — just sweep the chosen medium into the joints.
- Wet the area to assist in compaction.